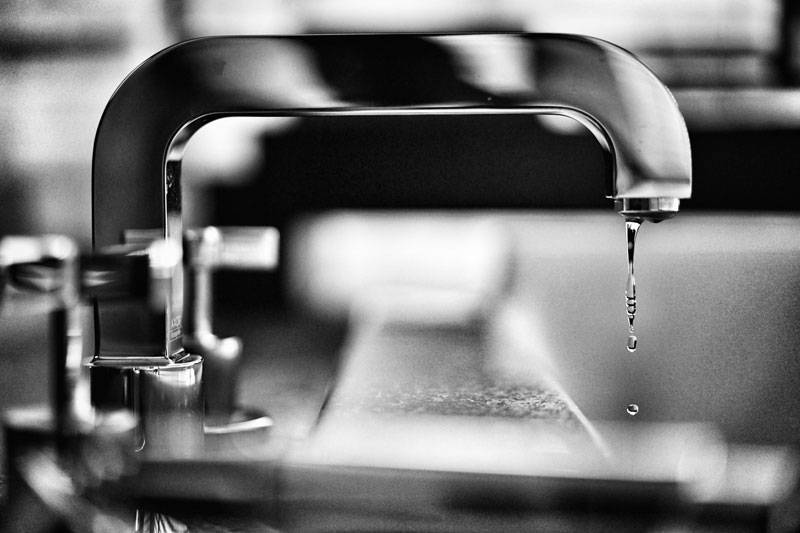
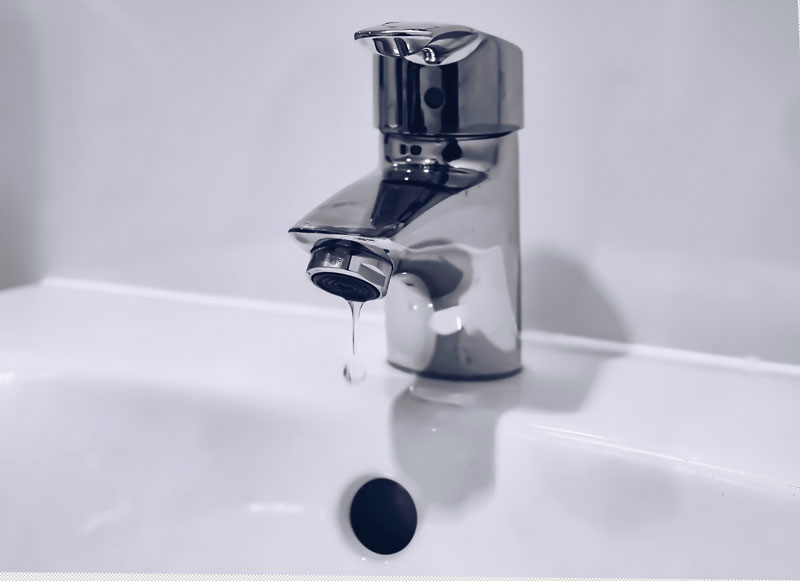
If you have discovered that there is a leaking tap in your home, you’ll agree that not only is this annoying, but every drop falling down that drain is avoidable water wastage.
So, how do you perform a tap repair so that your dripping spout stops being a nuisance? Well, whether it’s a kitchen tap dripping, a bathroom tap leaking or another type of tap, you need to find out how you can stop a dripping tap as soon as possible.
Table of contents
- Why is my tap dripping?
- How to fix a leaking tap
- Tap still dripping? Your tap pressure might be too high
- Still not sure how to repair a tap?
Why is my tap dripping?
Plenty of issues can cause a tap to drip, but for small leaks, it may be one of the most common causes: limescale.
Rubber seals (also known as O-rings) can be subject to limescale. As a result of a combined build-up of calcium and magnesium, this chalk-like substance is left by hard water when it evaporates from the surface. Not only does this make the tap look bad, but it can also cause wear and tear. However, rubber seals are easy to replace if you’re familiar with plumbing processes.
Many modern mixers come with an alternative to the classic tap design, including a built-in cartridge inside the tap. If you’re familiar with this model, the cartridge can be removed from the tap for descaling or a replacement to prevent drips.
Do you need to fix dripping tap parts?
The quicker the issue is resolved, the less risk there is of problems with the tap forming in the future. If you aren’t confident about doing the repairs, contact a plumber to sort out the leaking tap as soon as possible.
Want to change your taps completely? Here are five steps for changing bathroom taps and how to change them.

How to fix a leaking tap
First things first, you’ll need to prepare the space before you fix tap parts.
What you will need
- Towel
Step one: Turn off the water and drain the pipes.
You must turn off the water source and drain the pipes before repairing the system or cleaning the valve. If the tap is in a bathroom or kitchen sink, this is usually via an angle valve underneath the basin or the sink. If for the bath or shower, the water pipes for these taps likely connect to a separate, larger stopcock.
If the stopcock is not inside the property, you must turn off all the water supply. If you have a basement, you should typically find the valve there. If no label is apparent, contact a professional for support.
Step two: Check there is no water pressure in the cold and hot water pipes.
You can tell if there is no water pressure by turning the tap capacity to full. If the supply has completely shut off, water left in the pipes will come out of the spout and dry up in a few seconds. If there is a constant stream, the valve has not been closed.
Step three: Set up protective covers for ceramics and tap components
These are prone to scratches during valve repair. To prevent these issues, lay a towel in the bath or basin. It works well as a protective layer and helps prevent small parts from being lost down the drain.
Ready to fix leaking tap parts? Here’s how you can perform a leaking tap repair to rid the annoying noise of dripping and prevent water wastage.

How to fix a dripping tap with multiple spouts
If your sink has two separate taps for hot and cold, these can be easy to repair. Primarily because unscrewing or removing each one is simple.
What you will need
- Flat head screwdriver
- Spanner or pipe wrench
- Soft cloth or towel
- New rubber seal (aka washer or disc) if replacing an old seal
- Vinegar
- Tap grease
Step one: Make sure no water is in the pipes.
Turn on each tap to ensure it empties any water left running in the pipes.
Step two: Remove protective covers.
For taps protected by covers, remove them to access the pipe. Make sure to note how these covers are positioned to prevent mixing up which covers fit where during refitting after repairs.
Step three: Remove the handles.
Take your screwdriver and loosen the screws holding the handle in place, then remove the handles once possible. You can typically locate the valve below the handle and unscrew this with a spanner or pipe wrench.
Tip: Cover the tap with a towel or soft cloth to prevent scratches.
Step four: Locate the seal
The rubber seal (or washer) is likely beneath the valve. You may also find the disc secured by a small nut on particular models. Use a flathead screwdriver to carefully lift this out to look at the disc in a generous amount of light.
Step five: Identify the damage.
If covered in limescale or dirt, soak the disc in a bowl of vinegar. Do this for a few hours or overnight, then rinse it in warm running water.
However, if the disc is damaged, you will need to replace it with a new compatible disc.
Step five: Prepare for refitting.
Rub tap grease onto the handle’s valve and screw threads before refitting. It will make dismantling them easier in future and prevent corroding material. Then place the newly cleaned or replacement disc on the valve’s lower end, securing it in place with the nut. Then refit the nut, gently tightening it as you do so.
Step six: Put the tap handles back in place.
You can now re-attach the tap handles, screwing them in place and putting any covers on if required.
How to fix a dripping tap with a single spout
Single lever taps come with a concealed cartridge with ceramic discs to keep the tap watertight. Ceramic is more durable and robust than rubber seals. As such, your most likely issue with this type of tap is limescale. With that in mind, onto the fitting!
What you will need
- Screwdriver
- Pipe wrench
- Soft, thin cloth or towel
- Vinegar
Step one: Shut off the water supply.
Make sure you have shut the water supply off to the tap and emptied the pipes of any leftover water (as mentioned above).
Step two: Remove the tap handle.
Loosen the screws, typically found on the front or back, on the tap and remove the handle. You can find the cartridge beneath this.
Step three: Remove the cartridge.
Cover the handle with a thin cloth to stop it from being damaged during removal, then use the pipe wrench to carefully unscrew the cartridge for cleaning.
Step four: Identify the damage.
Your most likely cause, as mentioned previously, will be limescale or dirt. As such, once the cartridge has been removed, place it into a container filled with vinegar. Soak it in this substance for a few hours or overnight to dissolve the limescale or dirt on it.
Step five: Refit the cartridge and handle.
Once free from deposits, rinse off the cartridge with water, then refit and tighten it back in place.
Is your tap still dripping? Your tap pressure might be too high
Taps fall into specific categories and require different water pressures to work with minimal damage risk. If your tap has lower pressure requirements, high water pressure can cause the water to find other outlets. As a result, an annoying dripping tap.
This type of issue can be dealt with by:
Closing the internal stop tap a little will reduce the flow of water to a suitable level.
Or installing a pressure-reducing valve on your private pipework to let you have control over your property’s water pressure.
If unsure, you can contact a plumber who can test the pressure accordingly to confirm whether this issue is the cause.
Are you still not sure how to repair a tap?
As always, speak to a professional if you don’t feel confident carrying out repairs yourself. In the meantime, there’s a small solution to stop that noisy dripping sound. Tie some string around the dripping tap, then lead the end of the string to the bottom of the basin. This will guide the droplets down the string to reach the drain, preventing the drops from falling loudly.
Got some other plumbing concerns? Check out our other guides for information about repairs, plumbing products and more.


